How to boost your branded event page

Your event homepage is more than a place for people to buy tickets - it is an opportunity for your brand to be seen, shared and remembered.
Make the most out of your event design and TryBooking’s features by creating an event homepage that suits your brand, attracts more attention from guests and looks great on any listing, website or social media post.
Today we'll look at the different elements involved in creating the homepage for this sample event, called A TryBooking Test Event
There are a number of opportunities to customise and brand your event homepage, here’s a quick summary of the image options:
| Name | Description | Best size |
| Hero image | The main image for your event. | Minimum width of 890px |
| Wallpaper image | The full background image of your event homepage. | 3000 x 3000px |
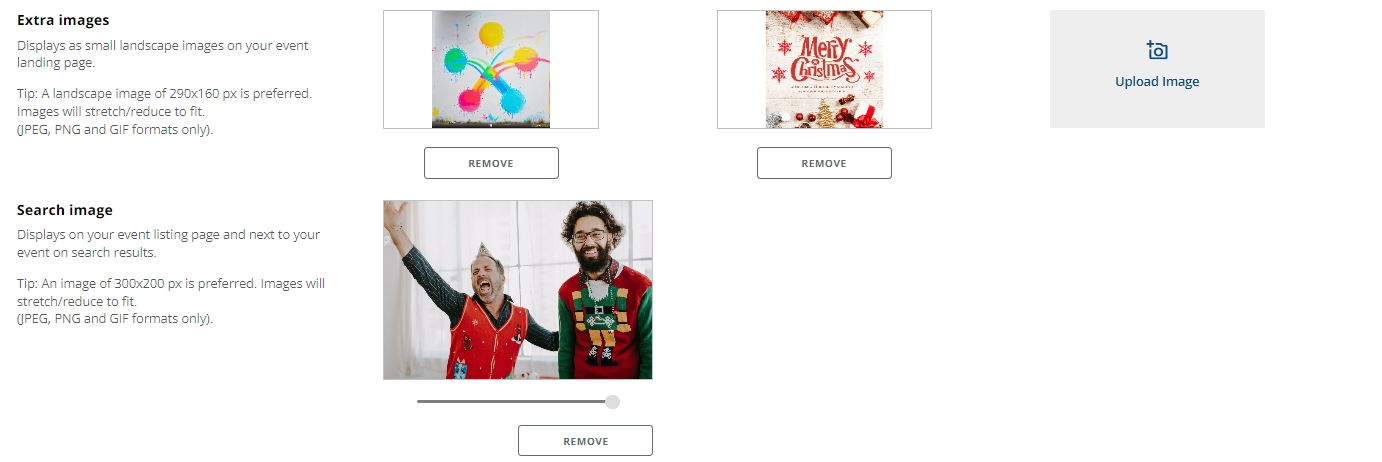
| Search image | The thumbnail image accompanying your event info on the TryBooking Buy Tickets listing page (if your event is public), your Event Listing Page or widget. | 300 x 200px |
| Extra images (up to 3) | These are small landscape images at the footer of your page, useful for sponsor logos etc. | 290 x 160px |
Let's get started!
Tips To Designing A Great Homepage For Your Event On TryBooking
- 1. Check All Details
- 2. Create A Basic Homepage
- 3. Check Event Tags
- 4. Grab Attention With Your Hero Image
- 5. Blend With A Wallpaper Background
- 6. Add Other Images To Compliment The Page
- 7. Event Thumbnail (What People See When Searching Your Event)
- 8. Event Page Fonts
- 9. Keep Previewing
- 10. Event Homepage Sharing Links
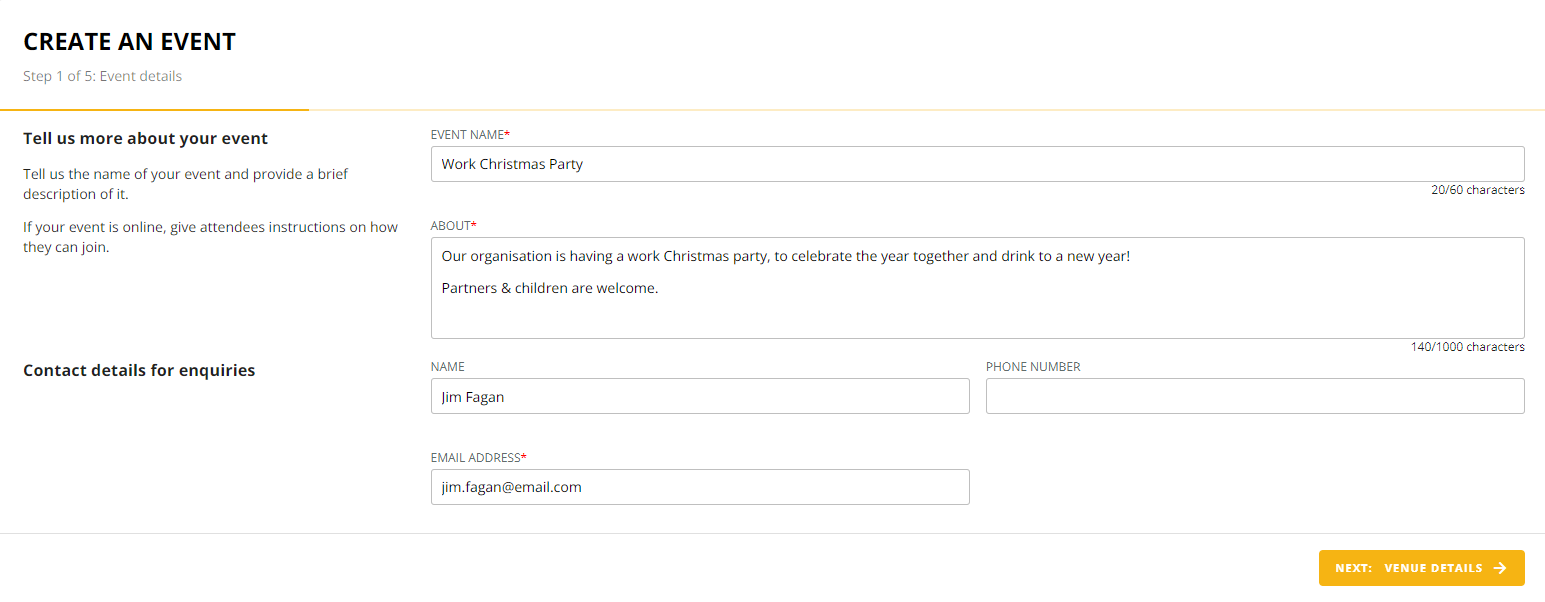
1. Follow the prompts and fill in your event details
Once you hit "Create new event", you'll be asked to fill in a number of details, starting with the event name, description and contact person:
You'll then be asked for other information such as your event location, session times, booking windows, capacity and more.
Remember, you can always go back and adjust these later. It's also important to note that the details you provide will show up automatically on your event homepage through a feature called Event Tags.
Event Tags take your information entered, such as event name, date, description, location and more, and display them straight onto your event homepage so that you don't need to type them in again. We will discuss these in more detail later.
2. Create a basic homepage
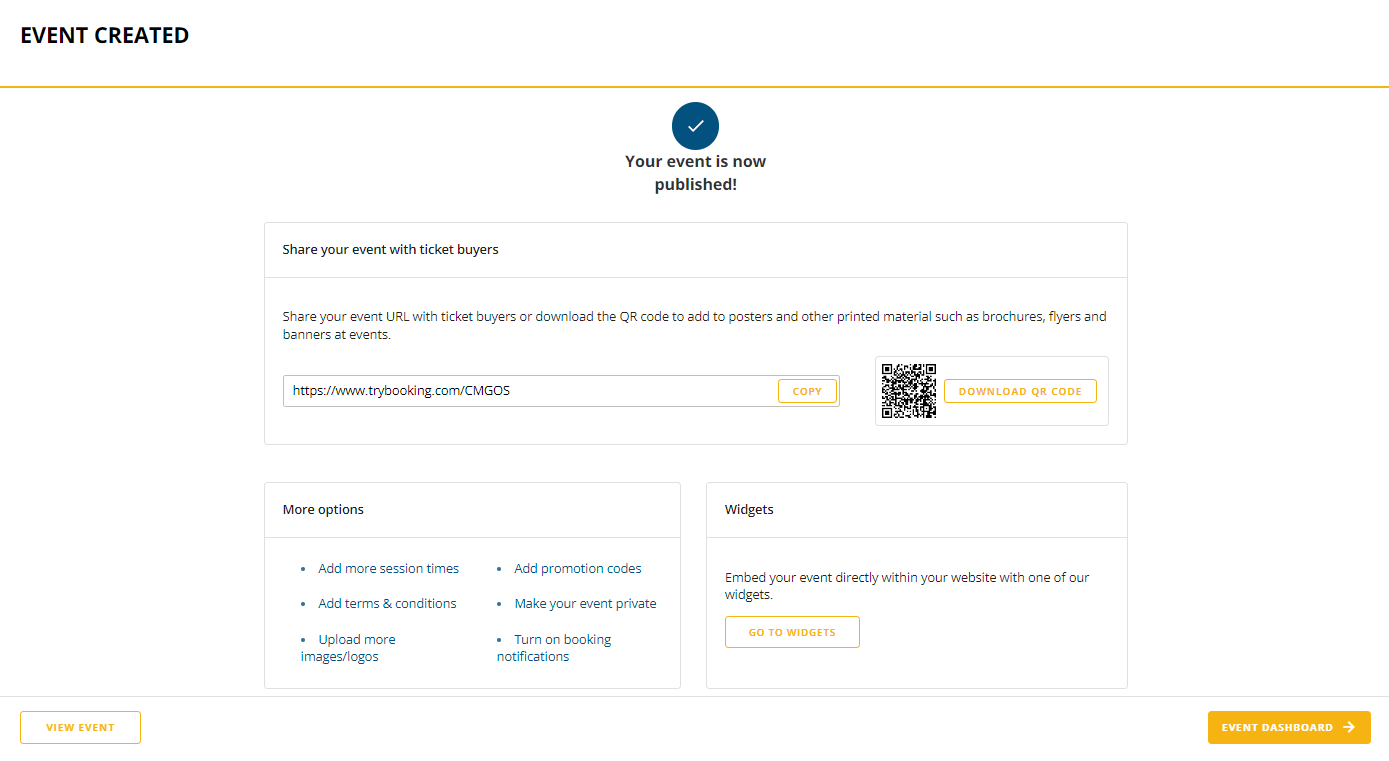
After we've gone through and filled all the event information, we will be given URLs to access the event homepage:
It's fine to leave this homepage as is and start using it for ticket sales, but taking a few extra minutes to decorate or brand the homepage with your own logos and styles can really help boost your event. So let's continue by sprucing things up.
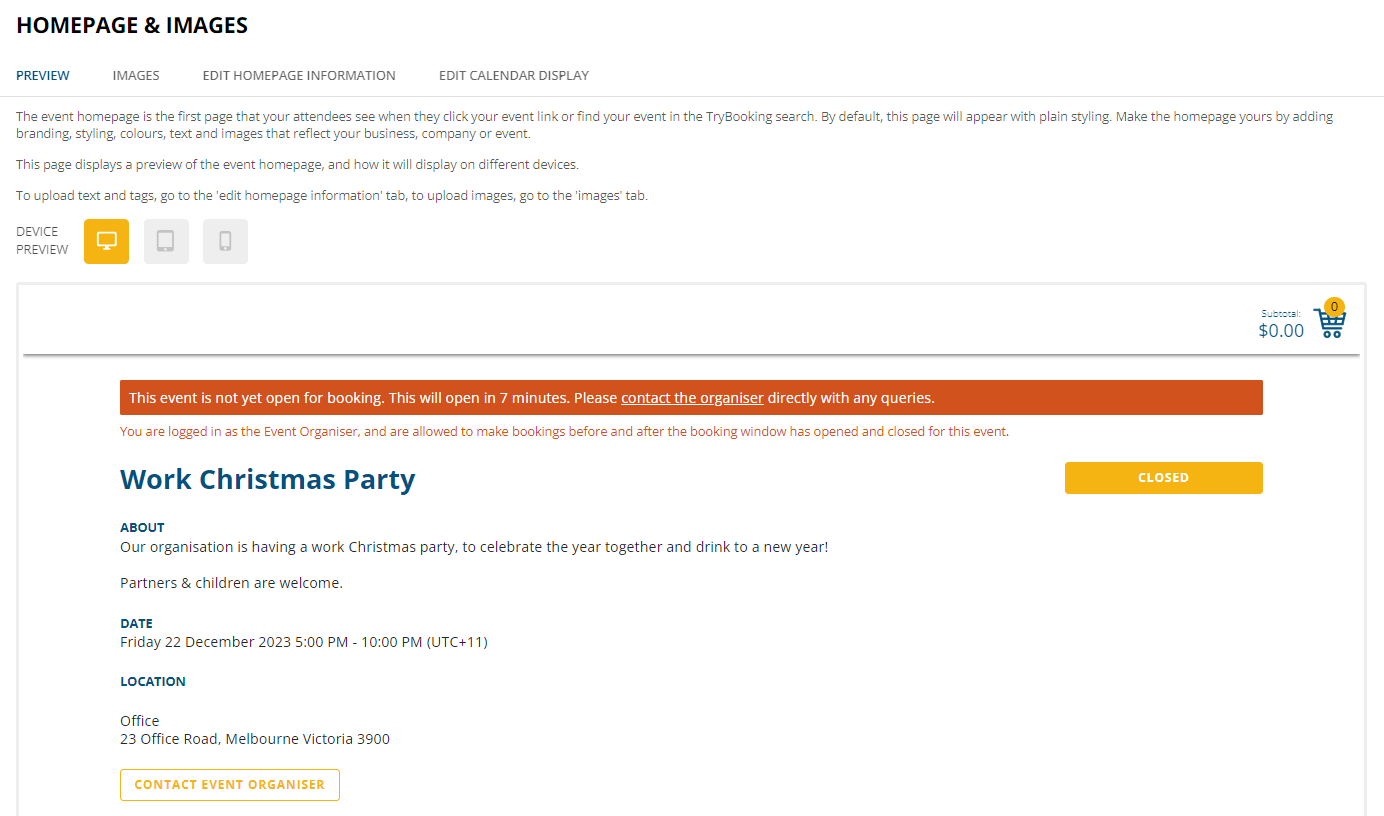
3. Go to Design (and check your Event Tags)
Click on Homepage and Images in your Event Dashboard, and the first tab you'll see is Design. Here is where you can check the Event Tags are pulling all the information you want your guests to see. You can also preview how the Event Tags will look in the Preview tab.
If there are Event Tags that don't need to be shown on your event homepage, simply remove them.
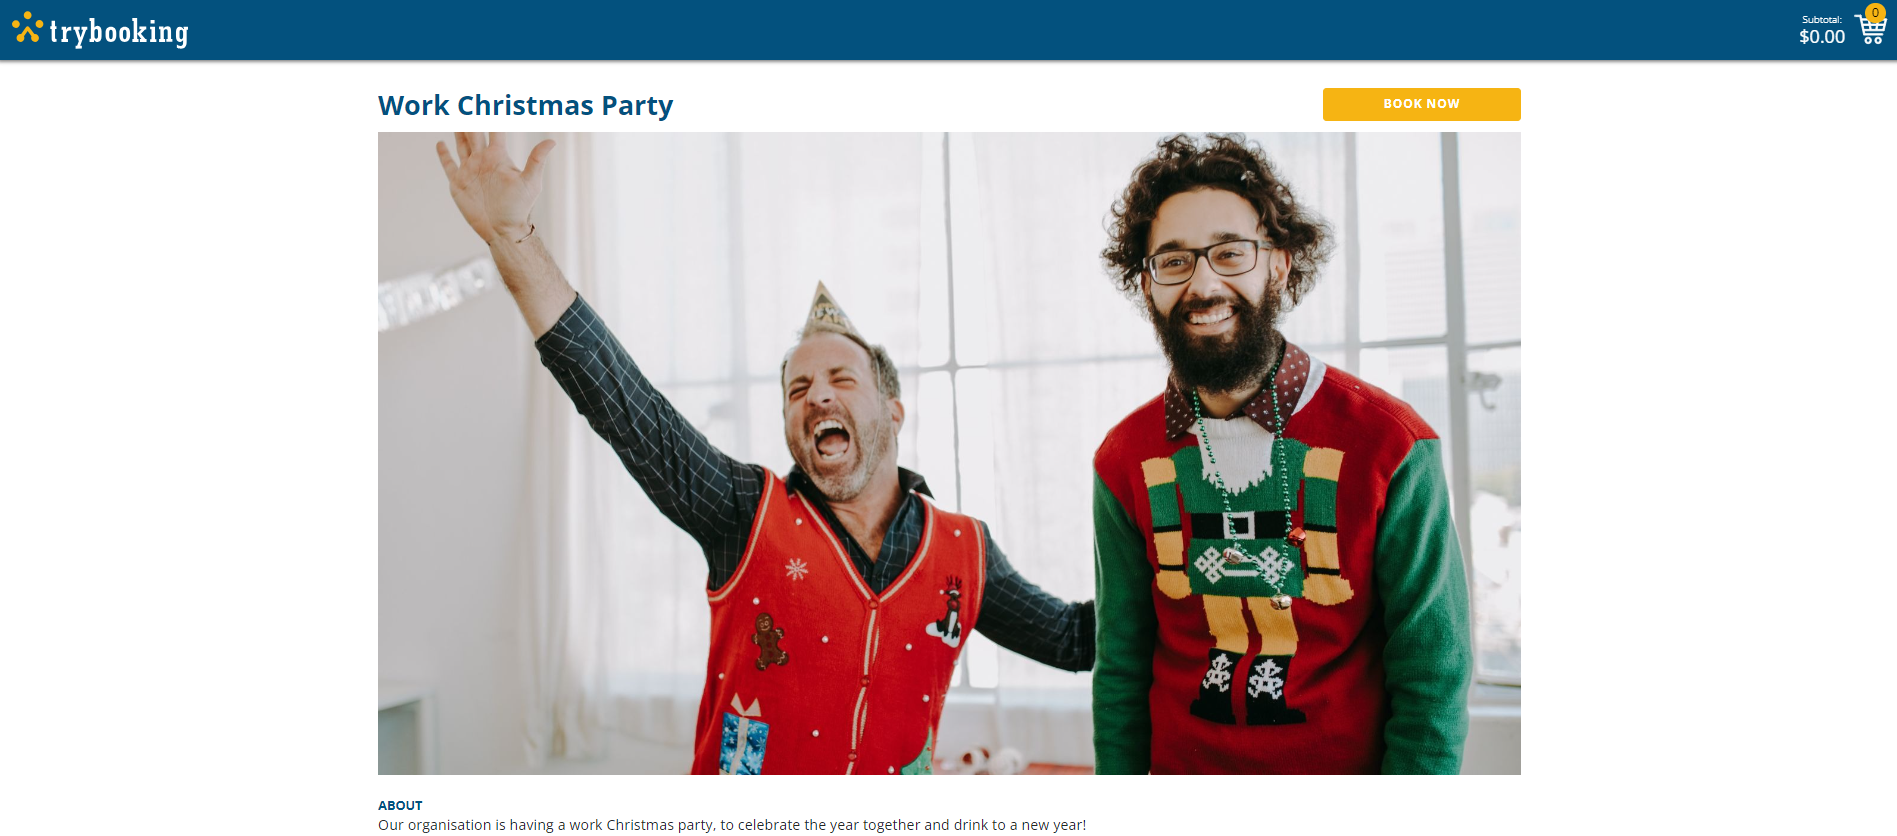
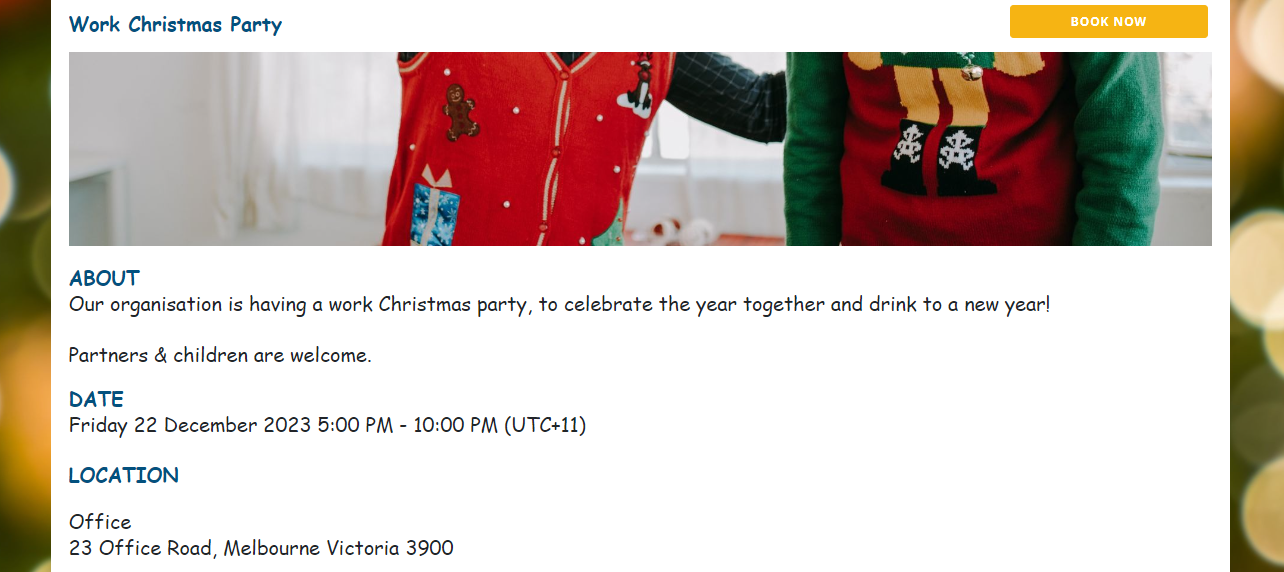
4. Draw more attention by adding a hero image (main event image) to your event
To add a hero image to your event, go to your Event Dashboard and click on Homepage and Images and then click once more on the Images tab.
Here you can upload images to display at the top of your event homepage. Make sure that they are correctly formatted.
You might want to upload a picture of your company, brand or event image.
For best results, please upload images that are 890 x 400 pixels.
We will go ahead and add an example image that we found from Pexels, a great source for free images:
Time to add other images to the homepage
Now that you're already in the Homepage and Images section, it's definitely worth uploading other images to spruce up your event, including wallpaper, search image and any extra logos or footer images. You can upload them all from the one place.
The sizing guidelines you'll need are:
Wallpaper image: 3000 x 3000px
Search image: 300 x 200px
Extra images (up to 3): 290 x 160px
We will run through each image type in more detail below.
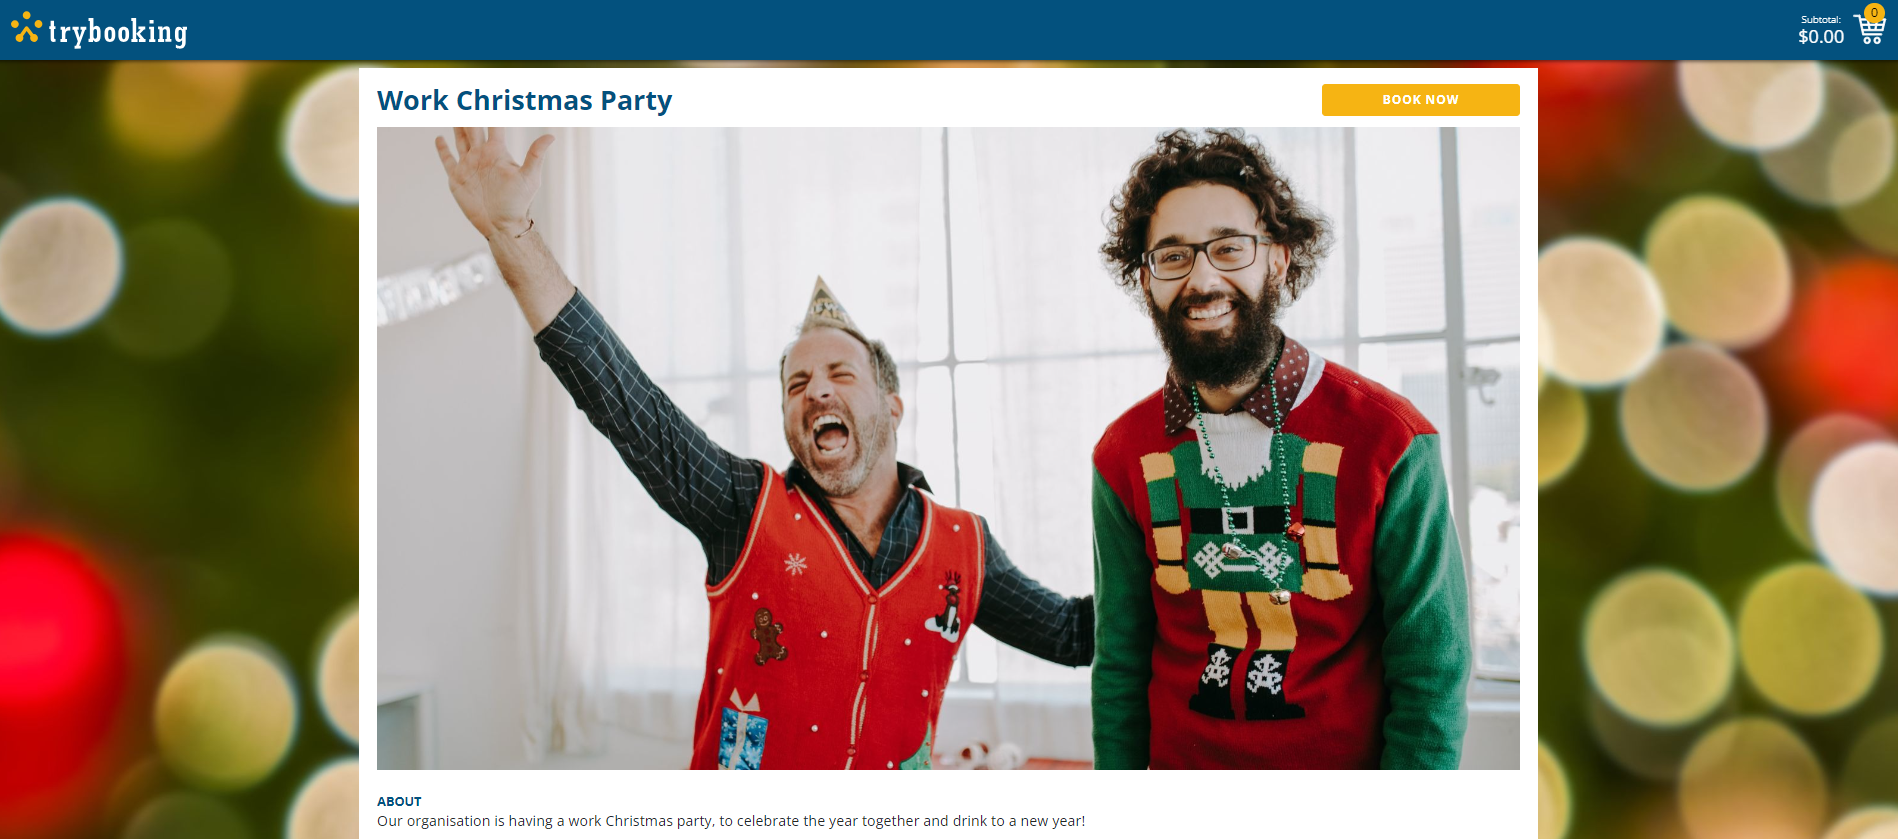
5. Wallpaper image
The wallpaper image has a huge role in branding your homepage and is one of the best opportunities you have to really make your homepage pop.
Large images that are 3000 x 3000px work best for background, but even if your image is smaller, it will tile it so that it fills up the page.
If you don't have any specific images on hand but would still like to have an eye-catching background, then we recommend jumping onto Pexels or Pixabay and finding a free image that suits your brand. You could even have a plain solid colour as the wallpaper image.
Here's the sample wallpaper image we've chosen to upload:
6. Extra images
You can add up to 3 different extra images to display at the bottom of your event.
In keeping with our "christmas" theme, we've chosen a simple example logo to add:
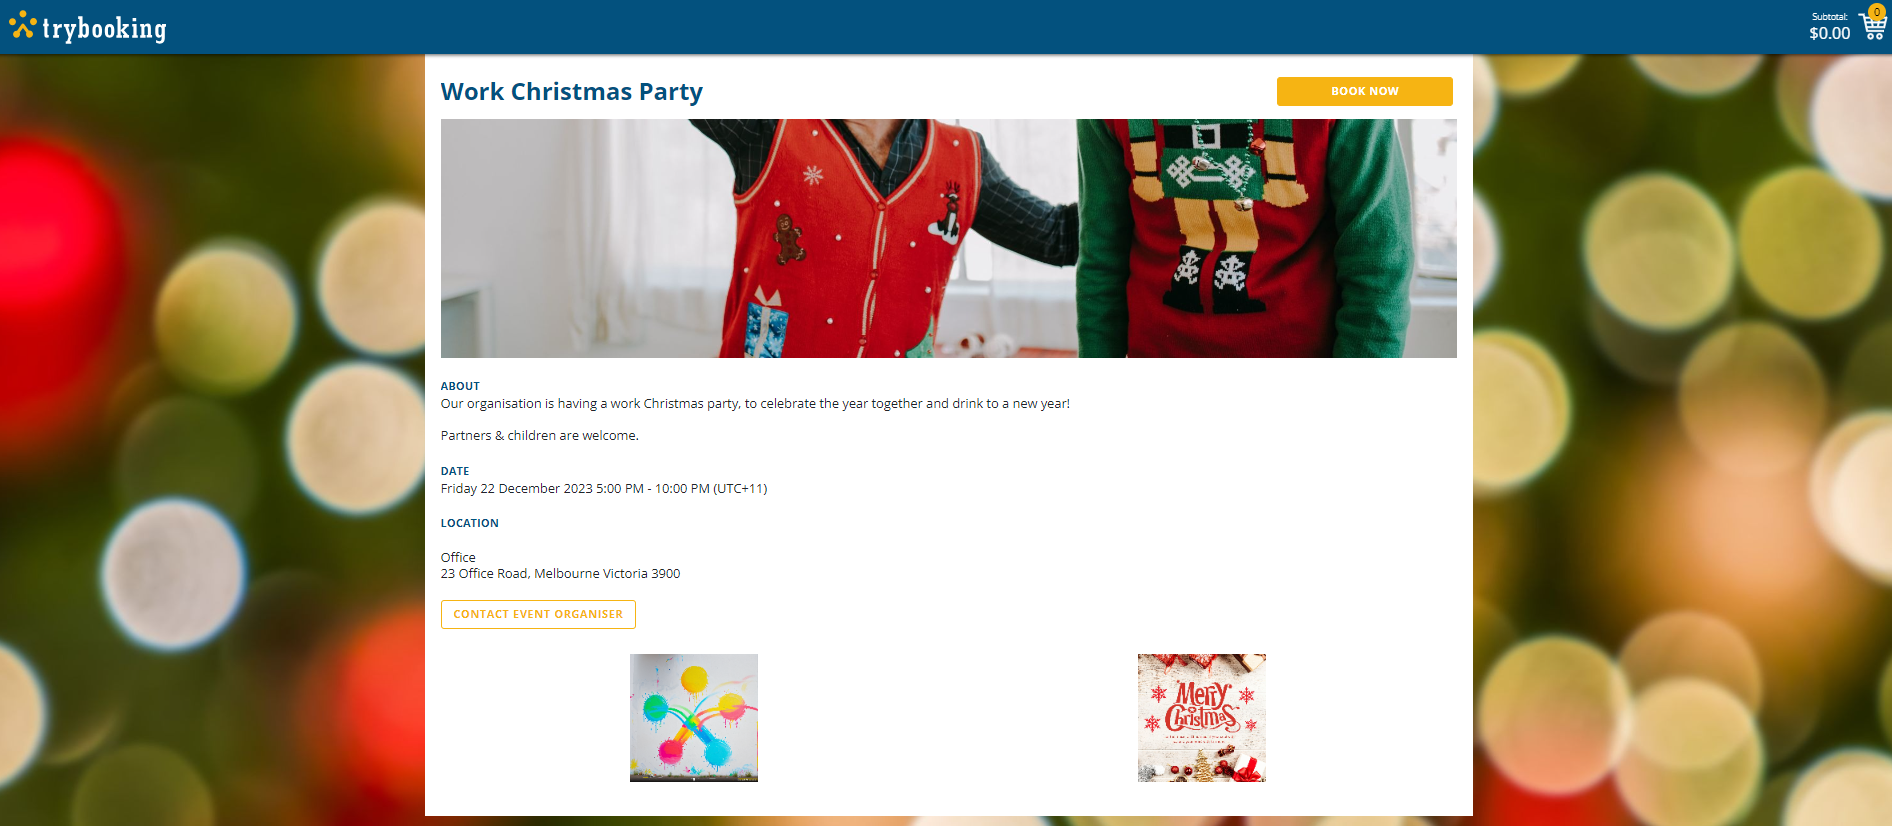
If you don't plan to use any extra images, you can always leave this area blank or upload your own business logo.
7. Event thumbnail image
When your event appears in:
1) The TryBooking Buy Tickets page/listing
2) Your Event Listing page
3) Your Event Listing widgets (on your own website),
It will appear with a thumbnail image.
If you have not uploaded an event thumbnail image, your listing on the Buy Tickets page will appear with a blue default image:
Here is a great opportunity for you to stand out to any visitors who browsing through our Buy Tickets page. Add a unique search image so that the blue default image doesn’t appear instead.
Usually, a resized version of your hero image will work just fine. The ideal dimensions are 300 x 200px. So we will go with this image again:
You can also add a custom event description when it appears in listings. To do this, go to Event name & details in your dashboard.
8. Event homepage fonts
First impressions count, so it's very important that the font on your Event homepage page looks clean and consistent. It's also important to include all the necessary details about the event so that guests aren't left wondering or uncertain.
If you want to change the font on your Homepage, simply highlight (Ctrl + A) all the Event Tag information and switch to a new font from the dropdown.
It is recommended to stick to the default font, but if you do change the font, make sure it's consistent across the page.
If you are copying + pasting text from a different website or page, make sure it is transferred properly. Ideally, it should match the rest of the font on your page.
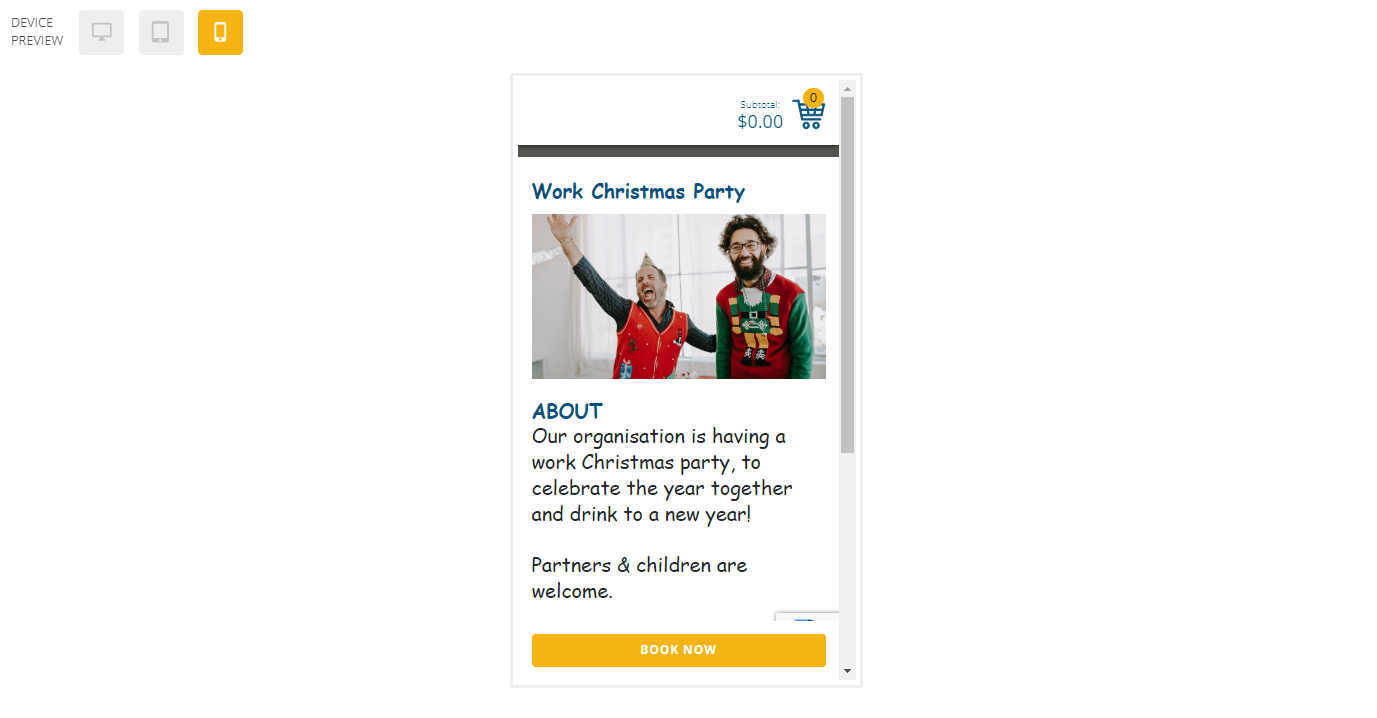
9. Always be previewing!
It's important to preview the changes as you make them. Make good use of the Preview tab in Homepage and design, and remember to check how your event will look across Desktop, Tablet and Phone because guests could be using any of these devices to book or buy tickets to your event.
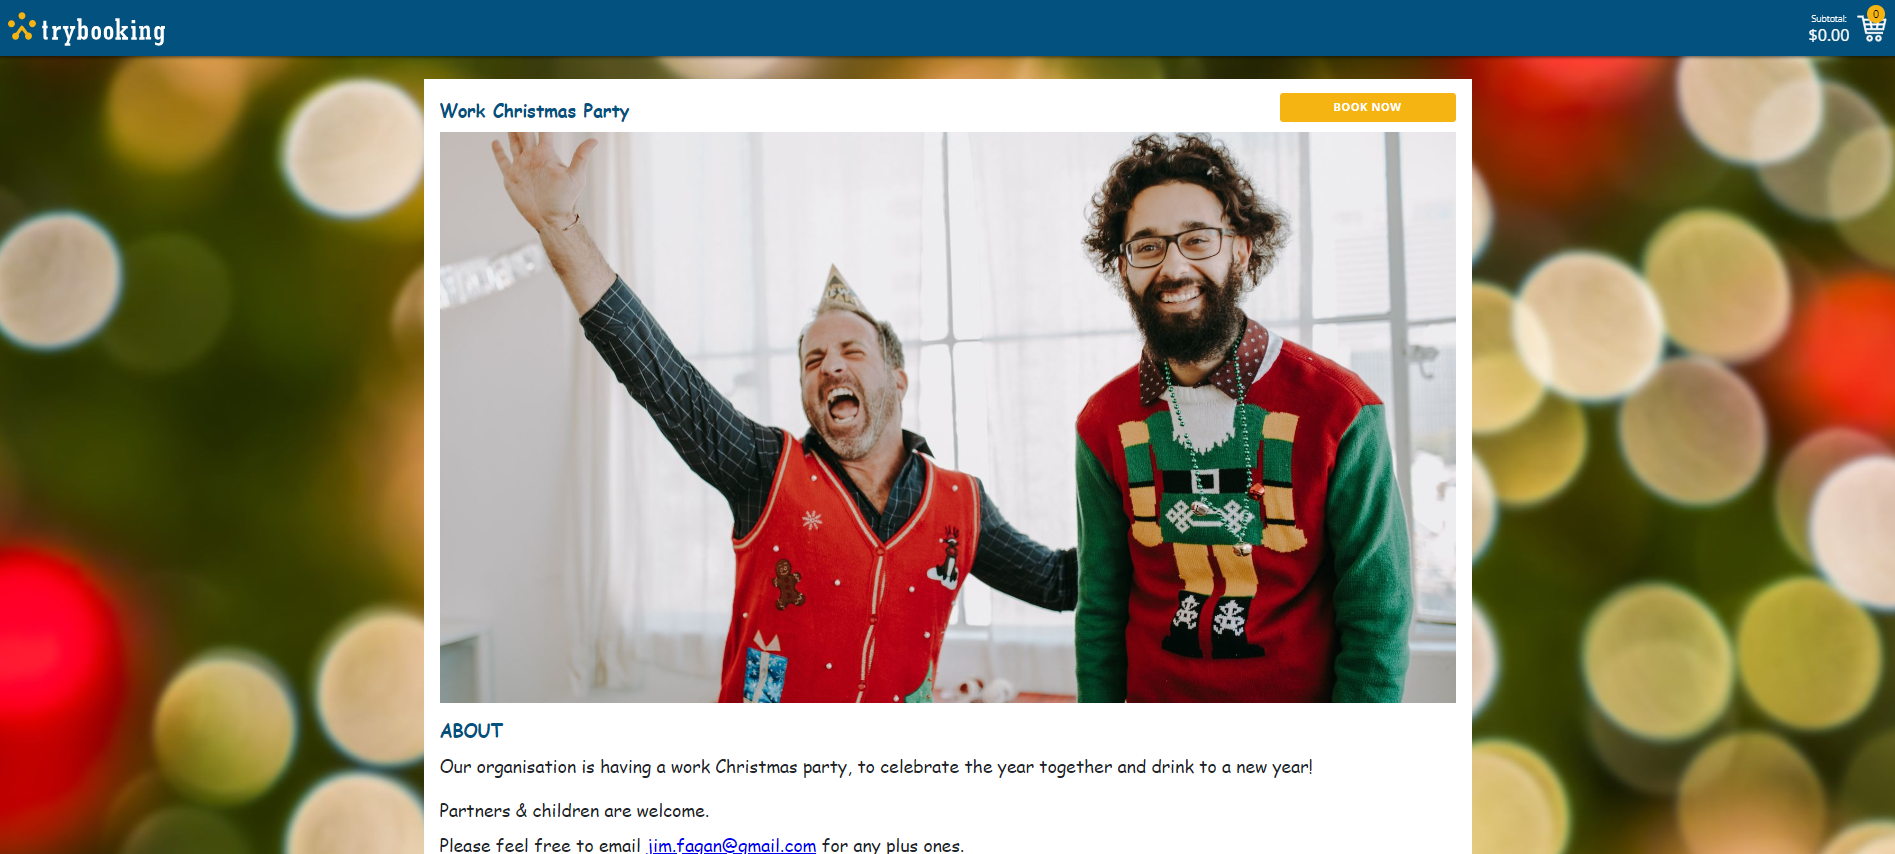
10. Event homepage links
There are 2 types of links you can add to your event homepage.
The first is for URLs, in case you want to link to your website, Facebook page or other sites.
The second links to email addresses, in case you want to give guests the option to contact you.
To add links to your page, simply highlight the Event Tag you want to go to a link and click on the hyperlink icon in the editor.
This will now appear as a link on your page.
We now have the final result:
We hope you enjoyed these tips and can apply them to your own event. A great-looking event homepage can definitely help to boost your sales and increase your brand strength.
If you have any questions about event homepage design, please get in touch.
Events made easy
The TryBooking Team

How To Plan The Ultimate Halloween Extravaganza
Aug 24, 2023 · 1 min read
8 Methods To Grow & Cultivating Stronger Communities Through Events
Sep 22, 2023 · 1 min read
You might also like

An insight about online event ticketing fees within the industry
Apr 03, 2024 · 1 min read
Mastering Event Promotion on LinkedIn
Mar 20, 2024 · 1 min read
Unlocking the Power of Seat Holds and Password Protect for Seamless Event Management
Feb 20, 2024 · 1 min read
How TryBooking Services the Needs of Local Theatres
Feb 21, 2024 · 1 min read
Introducing TryBooking Box Office App Tap to Pay on Phone
Feb 20, 2024 · 1 min read
10 Ideas To Host An Extraordinary International Women's Day Event
Feb 16, 2024 · 1 min read
7 Event Ideas To Celebrate Easter In 2024
Jan 31, 2024 · 1 min read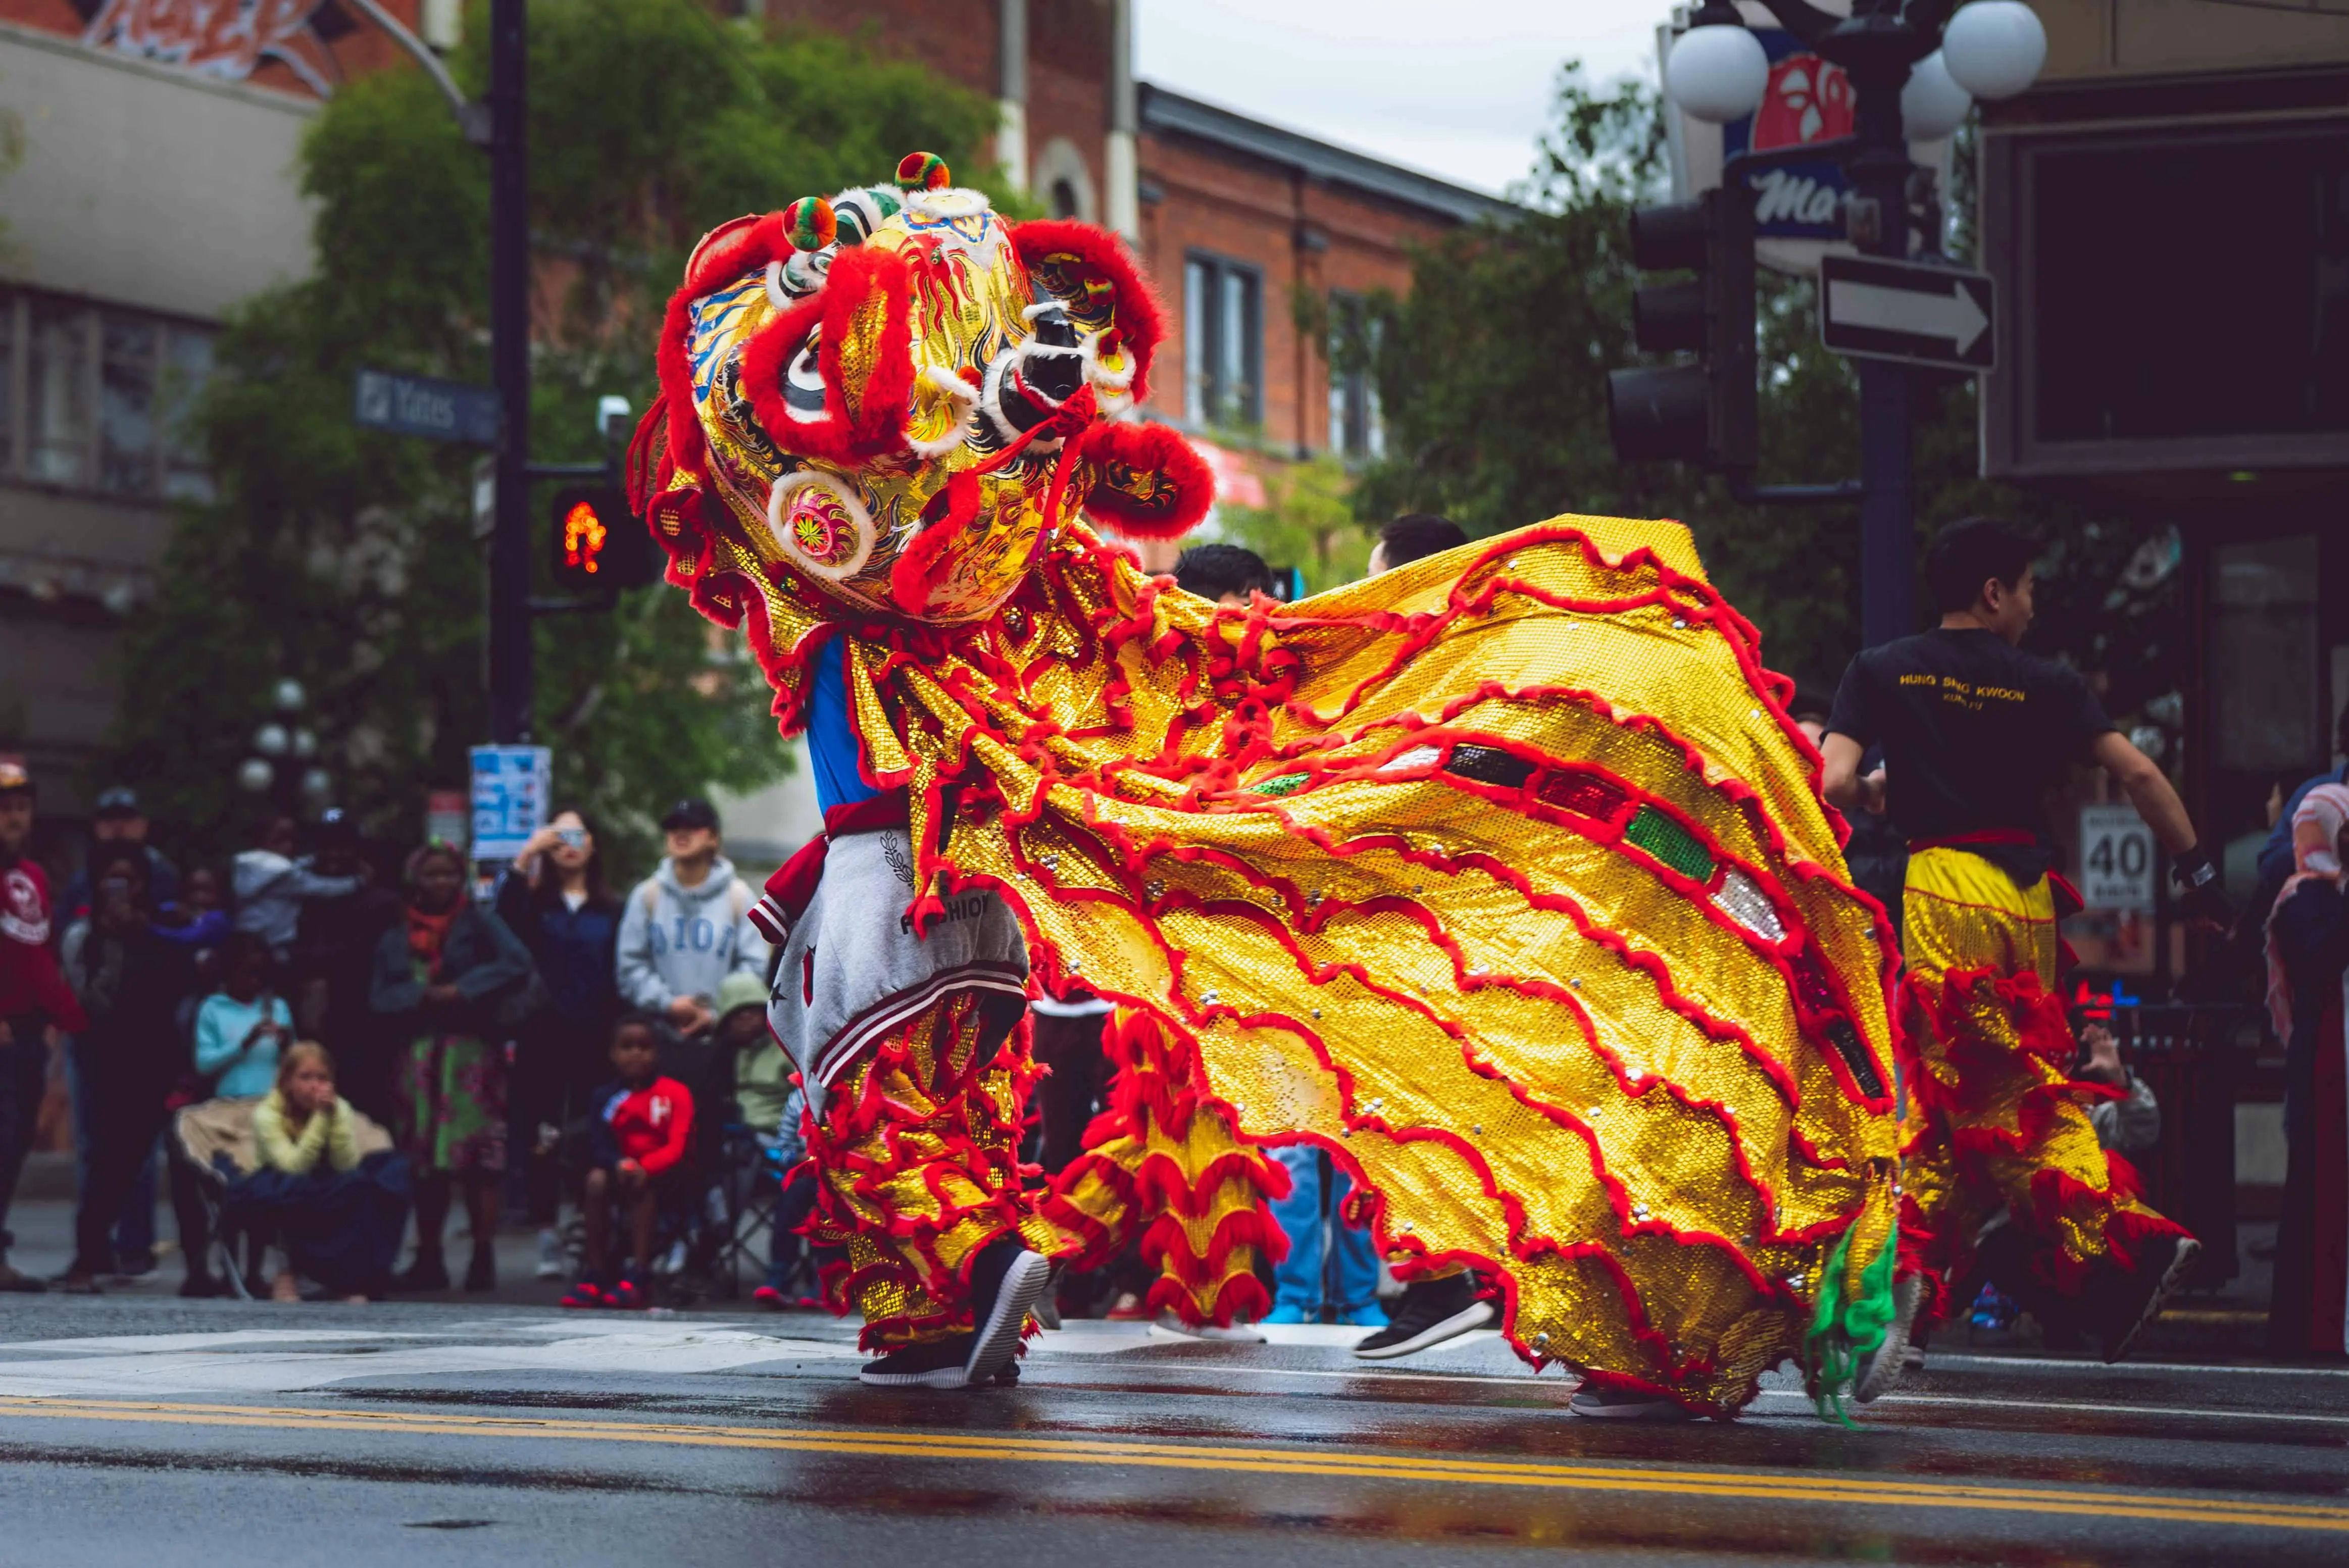
20 Ideas to Elevate Your Chinese New Year Celebrations: A Guide for Event Organisers
Jan 19, 2024 · 1 min read
How To Market Your Event
Jan 15, 2024 · 1 min read
Our Top 20 Valentine's Day Ideas
Jan 12, 2024 · 1 min read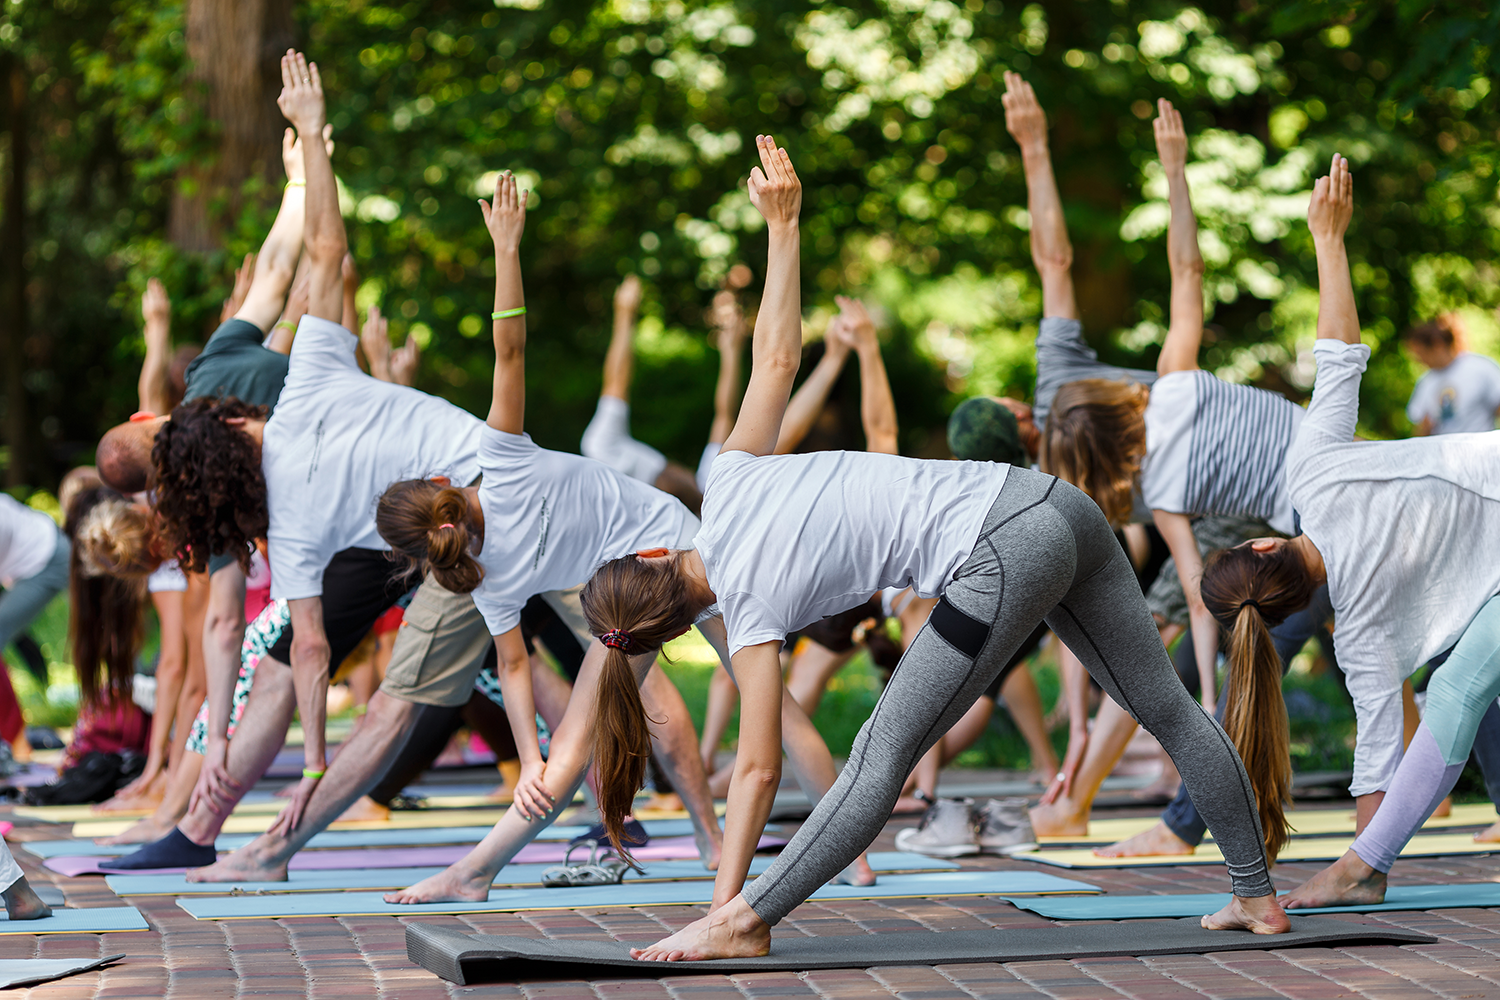
Promote Wellness With These 9 Great Event Ideas
Jan 17, 2023 · 1 min read
How To Run An Event In 2023
Jan 03, 2024 · 1 min read
15 Theme Ideas To Make Your New Year's Party Shine
Dec 07, 2023 · 1 min read
Planning Tips for Charity Events
Dec 07, 2023 · 1 min read
How To Plan The Ultimate Halloween Extravaganza
Aug 24, 2023 · 1 min read
How to boost your branded event page
Sep 29, 2023 · 1 min read
8 Methods To Grow & Cultivating Stronger Communities Through Events
Sep 22, 2023 · 1 min read
How To Write Event Invitations That Get Results
Sep 08, 2023 · 1 min read
How to Plan a Successful School Event: Your Comprehensive Guide
Sep 08, 2023 · 1 min read
6 Unique Event Ideas and Celebrations For Mid-Autumn Festival
Feb 12, 2024 · 1 min read
The Ultimate Guide to Planning Your Magical Santa's Grotto
Jul 24, 2023 · 1 min read
Protecting Your Event: Our Top Tips
Jul 16, 2023 · 1 min read
Diwali Celebration Ideas: Illuminating Festivities in New Zealand
Jul 17, 2023 · 1 min read
Why TryBooking is the Ideal Event Ticketing Platform for Community Events
Aug 14, 2023 · 1 min read
How to Run and Market a Charity Event
Jul 03, 2023 · 1 min read
How to Get Sponsors for an Event
Jun 26, 2023 · 1 min read
The Ultimate Guide to Association Member Engagement: Strategies, Tips, and Ideas
Jun 20, 2023 · 1 min read
How to Market an Event on Instagram
Jun 19, 2023 · 1 min read
How to Market an Event on YouTube
Jun 12, 2023 · 1 min read
Enhancing Medical Conferences with Software Solutions
Jun 01, 2023 · 1 min read
27 Halloween Party Ideas and Planning Guide
Jun 01, 2023 · 1 min read
How To Write Event Invitations: Templates and Creative Ideas
Jun 01, 2023 · 1 min read
A guide on how to market your event on Facebook
May 29, 2023 · 1 min read
How To Host A Successful School Fundraiser
May 16, 2023 · 1 min read
Unique & Easy Fundraising Ideas for Schools: Boosting Success and Engagement
May 16, 2023 · 1 min read
26 Fundraising Ideas: Creative, Quirky, & Easy Ways To Raise Money
May 16, 2023 · 1 min read
How to successfully plan and run a movie fundraiser: tips and tricks
May 11, 2023 · 1 min read
A guide on how to market your event on TikTok
May 11, 2023 · 1 min read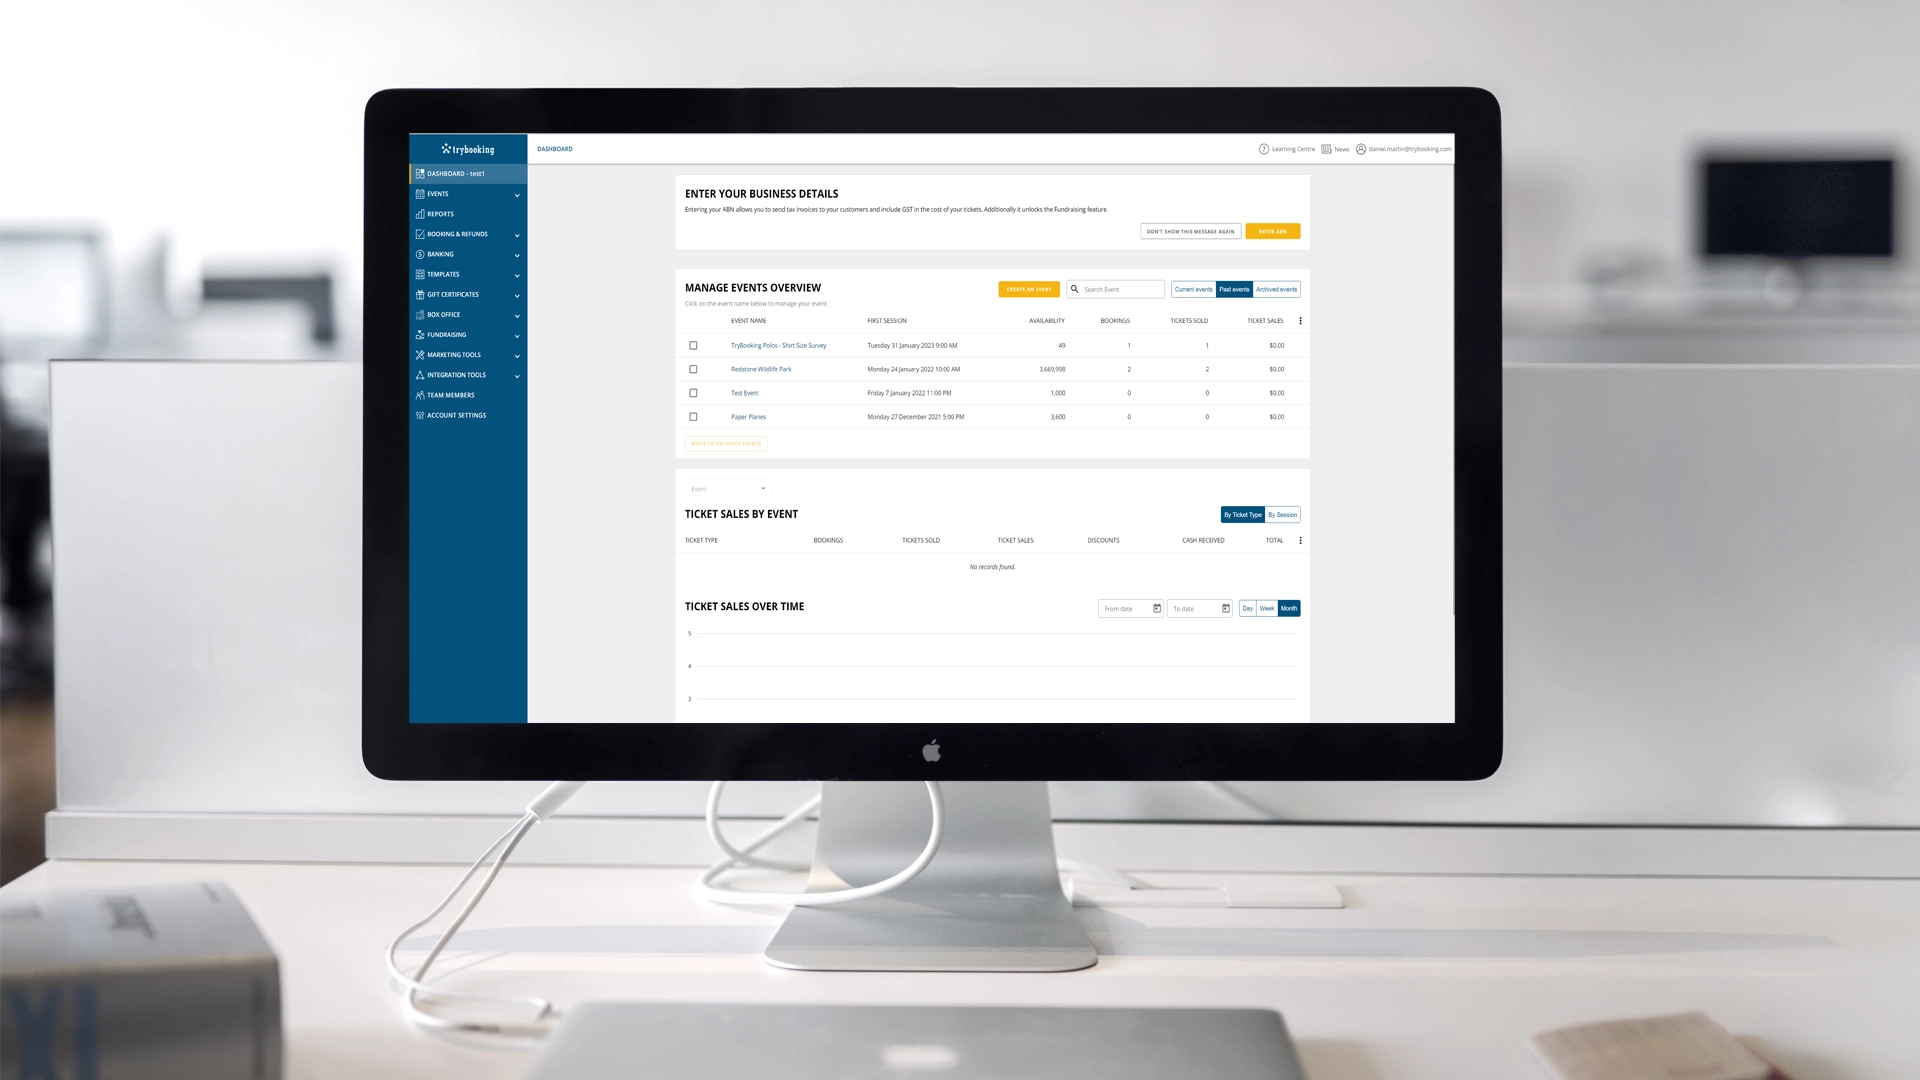
4 Different Ways To Use TryBooking: From Registrations To Merchandise Sales
May 03, 2023 · 1 min read
Creative Networking Event Ideas For Growing Your Audience
May 02, 2023 · 1 min read
14 Event Ideas To Make The Most Of Your School's Assets
Apr 19, 2023 · 1 min read
125 Unique & Fun Event Ideas For Your Next Event
Mar 15, 2024 · 1 min read
How to Create an Event Program
Jul 24, 2023 · 1 min read
7 Great Mother’s Day Event Ideas To Sell Out Your Event
Mar 17, 2023 · 1 min read
10 Corporate Event Ideas To Ignite Some Fun At Your Office Party
Mar 17, 2023 · 1 min read
Unique Ideas To Help Transform Your Venue This Valentine’s Day
Jan 08, 2023 · 1 min read
4 Ways Our Custom Form Update Helps Deliver Exceptional Events
Nov 03, 2022 · 1 min read
Collect Your Customer Information With Custom Forms
Nov 01, 2022 · 1 min read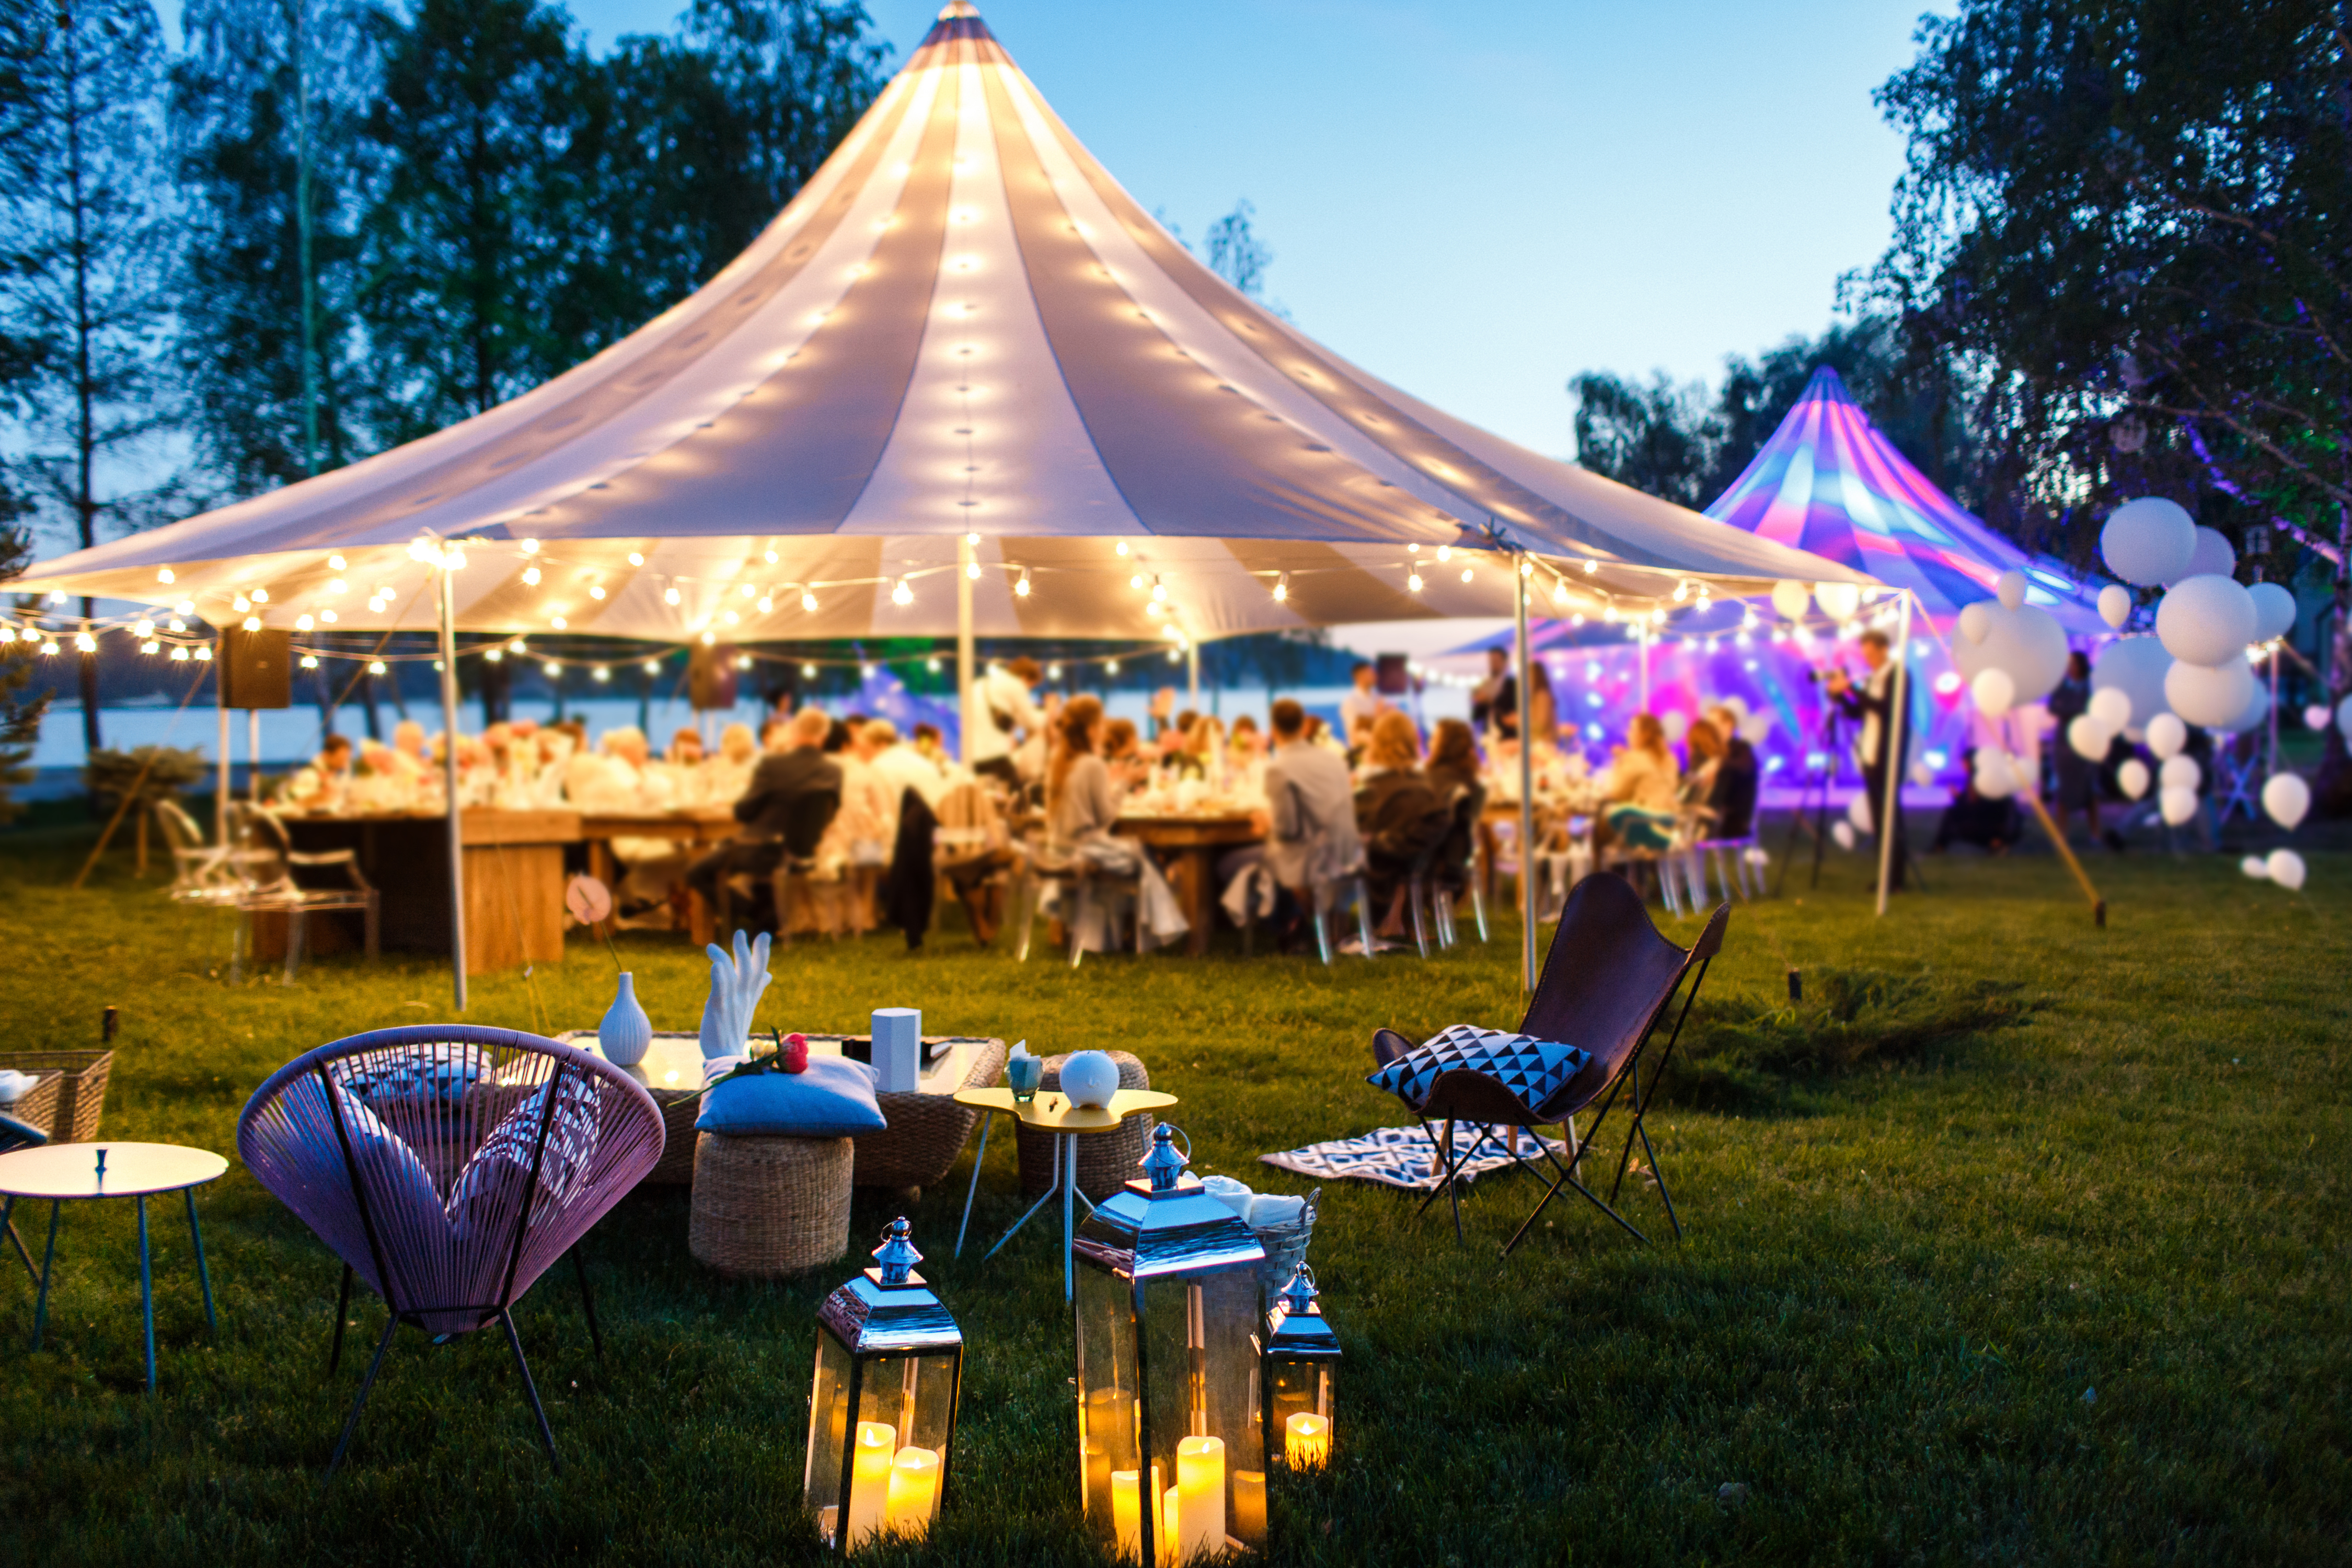
5 Ways To Spruce Up Your Event
Sep 27, 2022 · 1 min read
How to Plan a High School Reunion
Apr 05, 2023 · 4 min read
How to avoid the traps with Christmas Events
Nov 09, 2022 · 1 min read
7 ways TryBooking benefits charities and not-for-profits
Aug 15, 2022 · 1 min read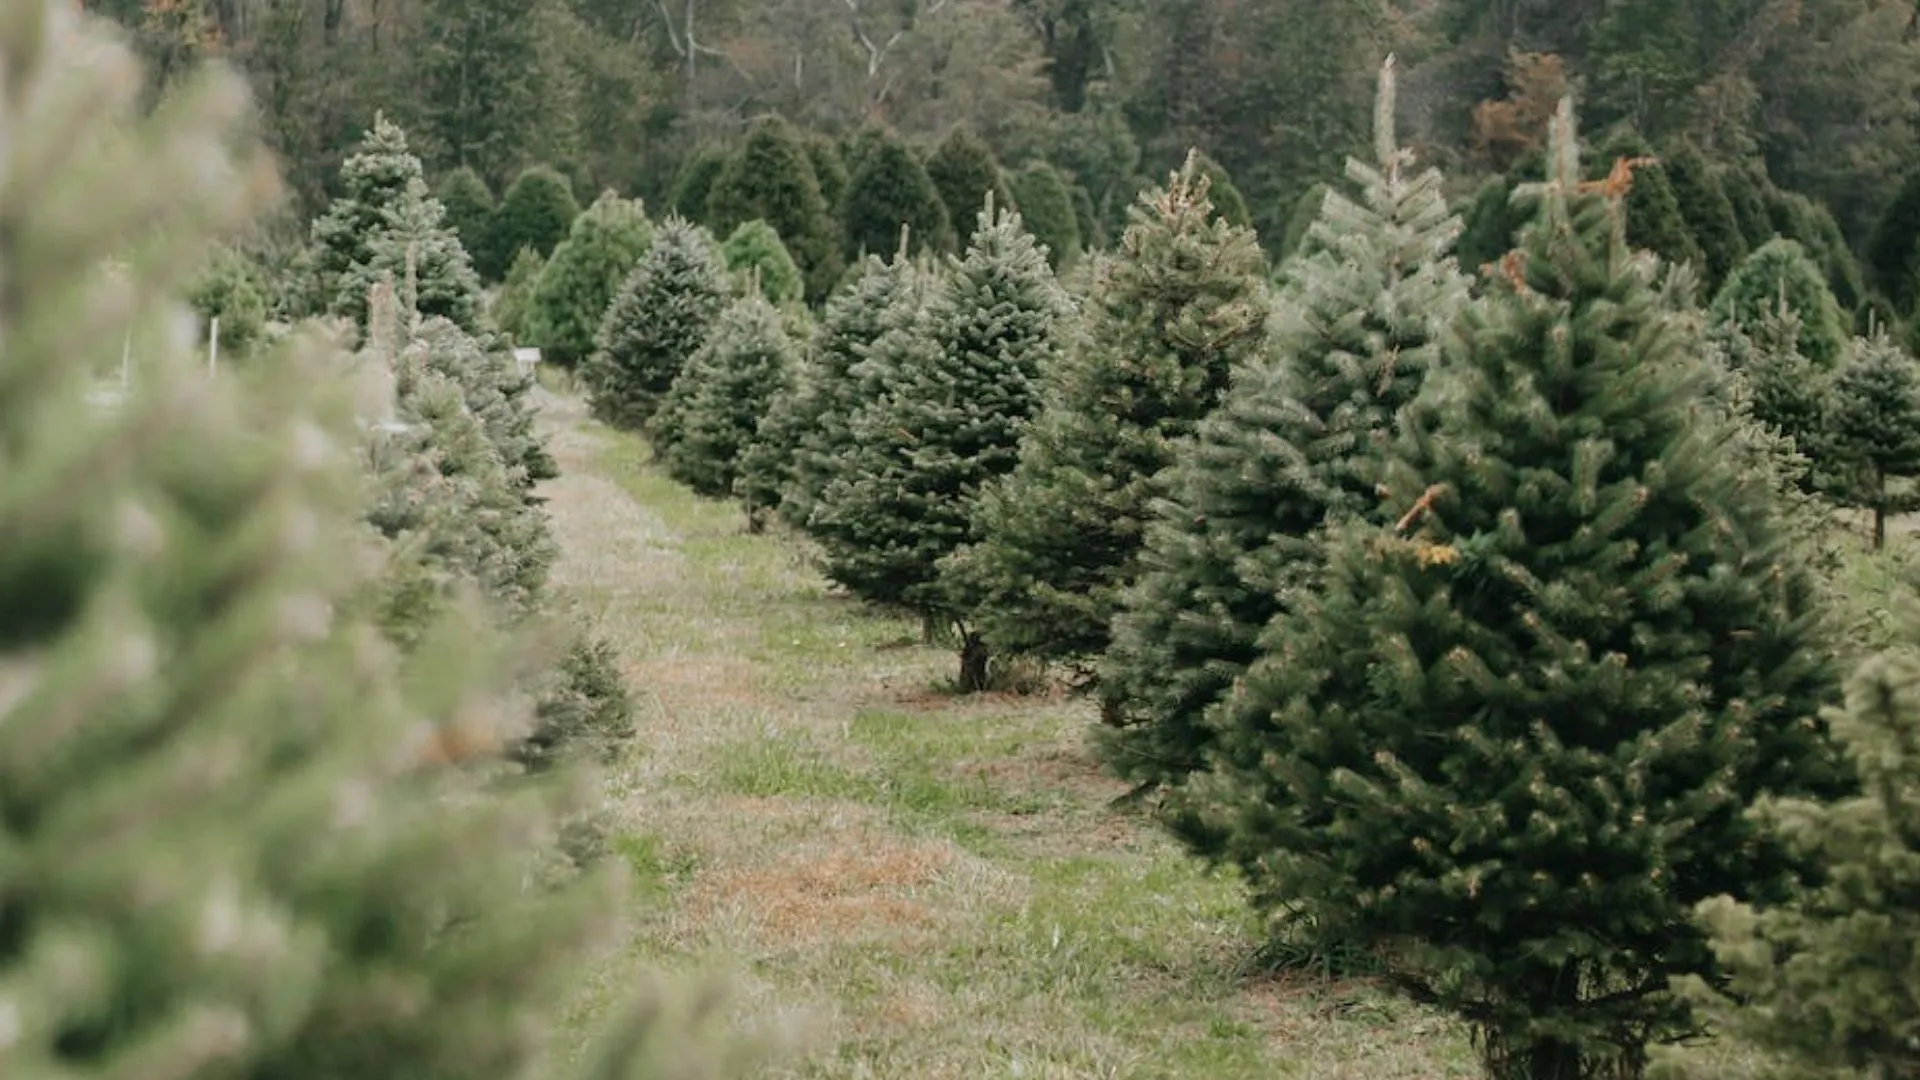
Why TryBooking is the platform of choice for Scout Club Christmas tree sales
Jul 22, 2016 · 2 min read
Why Trybooking Is The Ticketing Platform of Choice For Music Venues
Aug 01, 2022 · 1 min read
What Makes Trybooking A Great Platform For Festivals?
Jul 04, 2022 · 1 min read
12 Ways TryBooking Supports The Wellness Industry
Apr 27, 2022 · 1 min read
12 Ways TryBooking Supports Small Businesses
Apr 04, 2022 · 1 min read
10 Ways TryBooking Makes Bookings Easier For Tourism Operators
Jul 05, 2022 · 2 min read
Online Ticket Sales, Memberships and Fundraising Made Easy for Sporting Clubs
May 10, 2022 · 1 min read
Features Helping Associations & Clubs Connect With Their Community Through Events
Apr 11, 2022 · 1 min read
Mother’s Day Events That Everyone Will Love
Apr 11, 2022 · 1 min read
Hosting political events made easy with TryBooking
Mar 03, 2022 · 1 min read
Why TryBooking is the preferred online ticketing platform for schools
Feb 28, 2022 · 1 min read
Tabled Seating Made Easier! New Update
Mar 28, 2022 · 1 min read
Yoga Classes Come In Many Forms 🧘♂️
Mar 11, 2022 · 1 min read
Change The Way Buyers Book With Calendar Display
Feb 09, 2022 · 1 min read
How to customise your Homepage?
Aug 20, 2020 · 1 min read
How to live stream your event?
Mar 17, 2020 · 2 min read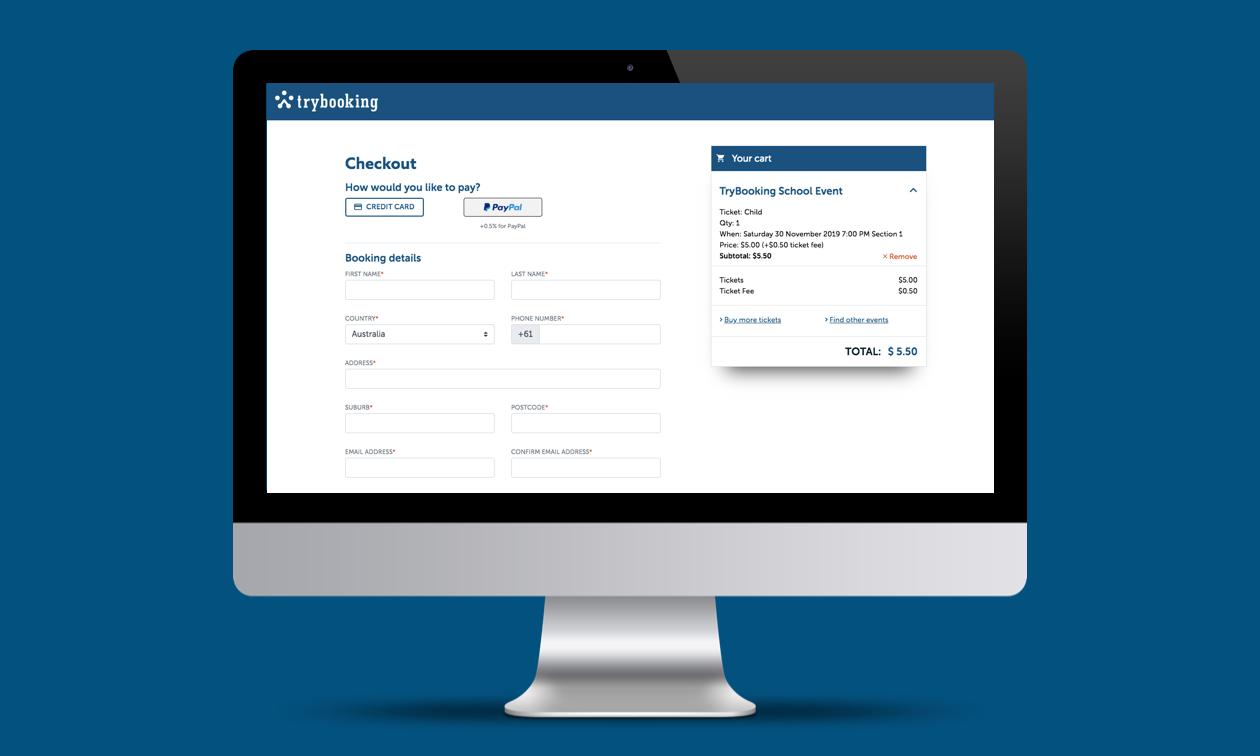
Use PayPal as one of your payment options
Oct 22, 2019 · 1 min read
Comprehensive guide for planning the perfect school fete
Jul 30, 2023 · 1 min read
How can schools set up events through TryBooking in a smarter way?
Feb 23, 2018 · 1 min read
TryBooking's low fees support your events, without draining the revenues
Jan 01, 2018 · 2 min read
TryBooking New Zealand Update: October 2017
Oct 05, 2017 · 1 min read
Features that can assist creating successful sporting events
Jun 28, 2017 · 2 min read
How to Create the Perfect Registration Form Template?
May 11, 2023 · 1 min read
How to plan your event planning when on a budget
Jun 06, 2017 · 1 min read
Facebook Ads can support your event ticket sales
May 09, 2017 · 1 min read
What to look for when searching for your perfect event venue
Apr 28, 2017 · 2 min read
How can you improve your time management?
Apr 27, 2017 · 1 min read
Small business events; Planning, Budgeting, Promoting and Action!
Apr 11, 2017 · 1 min read
How to email your ticket buyers?
Apr 10, 2017 · 1 min read
What are widgets and how can they be Embedded?
Apr 07, 2017 · 1 min read
Why event insurance is important
Apr 04, 2017 · 2 min read
How to design your event landing page in a flash?
Mar 16, 2017 · 1 min read
How to have Happier Event Guests?
Feb 14, 2017 · 2 min read
How to hand back free tickets?
Feb 08, 2017 · 2 min read
What are the features to brand your event?
Jan 30, 2017 · 1 min read
Get started with these fundraiser ideas
Jan 17, 2017 · 3 min read
How to organise the perfect end-of-year event?
Dec 06, 2016 · 3 min read
How can you use your last event's success to boost the next one?
Dec 05, 2016 · 2 min read
How to promote your event on social media?
Apr 04, 2022 · 1 min read
How to attract loyal event attendees?
Oct 30, 2016 · 4 min read
Here are some amazing ideas for celebrating Halloween
Oct 24, 2016 · 3 min read
How to plan a successful conference or business event?
Oct 13, 2016 · 4 min read
How to host the perfect Spring/Summer fundraiser?
Oct 04, 2016 · 2 min read
How to run a successful political fundraiser?
Sep 28, 2016 · 3 min read
Bolt in your Spring Racing with these tips and tricks!
Sep 12, 2016 · 3 min read
How can online ticketing help with your next event?
Aug 31, 2016 · 4 min read
What are the Top 3 ideas of school fundraising?
Aug 22, 2016 · 3 min read
How can you better design your event page?
Aug 05, 2016 · 1 min read
How to create better events and worry less about user access with these features
Jul 22, 2016 · 2 min read
An update on our new website design
Jul 22, 2016 · 1 min read
A few tips to organise better events
Jul 19, 2016 · 4 min read
Why your data is secure while using TryBooking?
Jun 20, 2016 · 2 min read
How to make your charity fundraiser a success?
Jun 14, 2016 · 3 min read
An overview of what's new
Apr 30, 2016 · 2 min read
The resources, event organisers should be aware of
Mar 23, 2016 · 1 min read
Learn how schools are using TryBooking to manage events
Feb 23, 2016 · 3 min read
How sporting clubs use TryBooking?
Feb 16, 2016 · 2 min read
The facts about online ticketing that make the difference
Jan 21, 2016 · 2 min read
What else can you use TryBooking for?
Dec 15, 2015 · 2 min read
Some of Summer's best festivals
Dec 01, 2015 · 2 min read
Calisthenics Victoria State Championships
Nov 12, 2015 · 2 min read
How a Charity Event can support Kids with Cancer
Oct 27, 2015 · 2 min read
How to promote your event using social media?
Oct 25, 2015 · 2 min read
What's the secret behind the Success and Direction of TryBooking?
Sep 24, 2015 · 2 min read
How a volunteering turned into an event ticketing platform
Sep 24, 2015 · 2 min read
EducatePlus Conference awards Ivanhoe Grammar School
Sep 22, 2015 · 1 min read
Calisthenics Victoria brings communities together
Aug 21, 2015 · 1 min read
How to run a successful event?
Aug 20, 2015 · 2 min read